You want to transform the appearance and feel of your bedroom. Start with a new coat of paint.
But, standing in your path is a wallpaper that was chosen by someone many years ago. It could even be you. Wallpaper trends change.
Should you paint the wallpaper over? Is it possible? We’ll start by examining the pros and cons of doing or not doing something before (spoiler alert!) diving into the how-to.
Can You Paint Over Wallpaper?
Asking a paint expert or a paint manufacturer will tell you that the best way to proceed is to remove the wallpaper and any adhesive residue before painting. Removing wallpaper may damage the wall underneath.
This can occur if the wallpaper is installed on unfinished plaster or drywall. You might have to remove multiple layers of wallpaper. This will make the job exponentially harder.
Why Not Paint Over the Wallpaper
Specific wallpapers should not be painted. This includes wallpaper with multiple peeling spots and particular types, such as fabric-backed Vinyl.
The good news is these wallpapers are easy to remove. The rule of thumb for painting wallpaper is to paint over the wallpapers that are difficult to remove and not the ones that are easy to remove.
Before deciding whether to keep the wallpaper, you should try to remove it. Your success or failure will guide you. While removing the wallpaper can be a hassle, removing the wallpaper that’s been painted over can be even more hassle.
You can, with a few exceptions and considerations. Preparation is the key. How to do it.
How to Paint Over Wallpaper
Learn how to paint wallpaper in your home by following these simple steps.
Step 1: Clean your walls
Wipe the dust and dirt from the walls with a slightly dampened cloth. A layer of dust will prevent the primer from sticking to the wall.
Clean the walls with a TSP solution diluted in water if they are dirty and greasy (think of a heavily used kitchen). Do not soak the walls in the solution or water, as this could cause the adhesive to soften, bubble, or loosen.
Allow plenty of time to allow the walls to dry.
Step 2: Repair any damage to the wallpaper
Peeling edges and seams are weak areas for adhesion. Some experts suggest applying a thin coating of wallpaper seam glue to reattach the loose fragments.
Using a thin putty blade to lift the areas, remove any loose pieces, and then fill in with spackle is also recommended. Once arid, lightly sand.
Use a palm sander or an orbital sander for sanding the wall until it is smooth. Wipe away dust with a damp cloth.
Step 3: Remove molding and trim
Use painter’s tape to carefully remove moldings, trims, wainscots, and baseboards you wish to protect.
Step 4: Prime your walls
It would help if you used a primer, whether you are using a water- or oil-based topcoat. A water-based primer can soak into the wallpaper, causing it to loosen its adhesive.
A primer based on oil will not work. As with painting, start using a brush for the edges and corners, then finish the large stretches with a roller.
Follow the instructions of the manufacturer. Ensure that the area is well-ventilated.
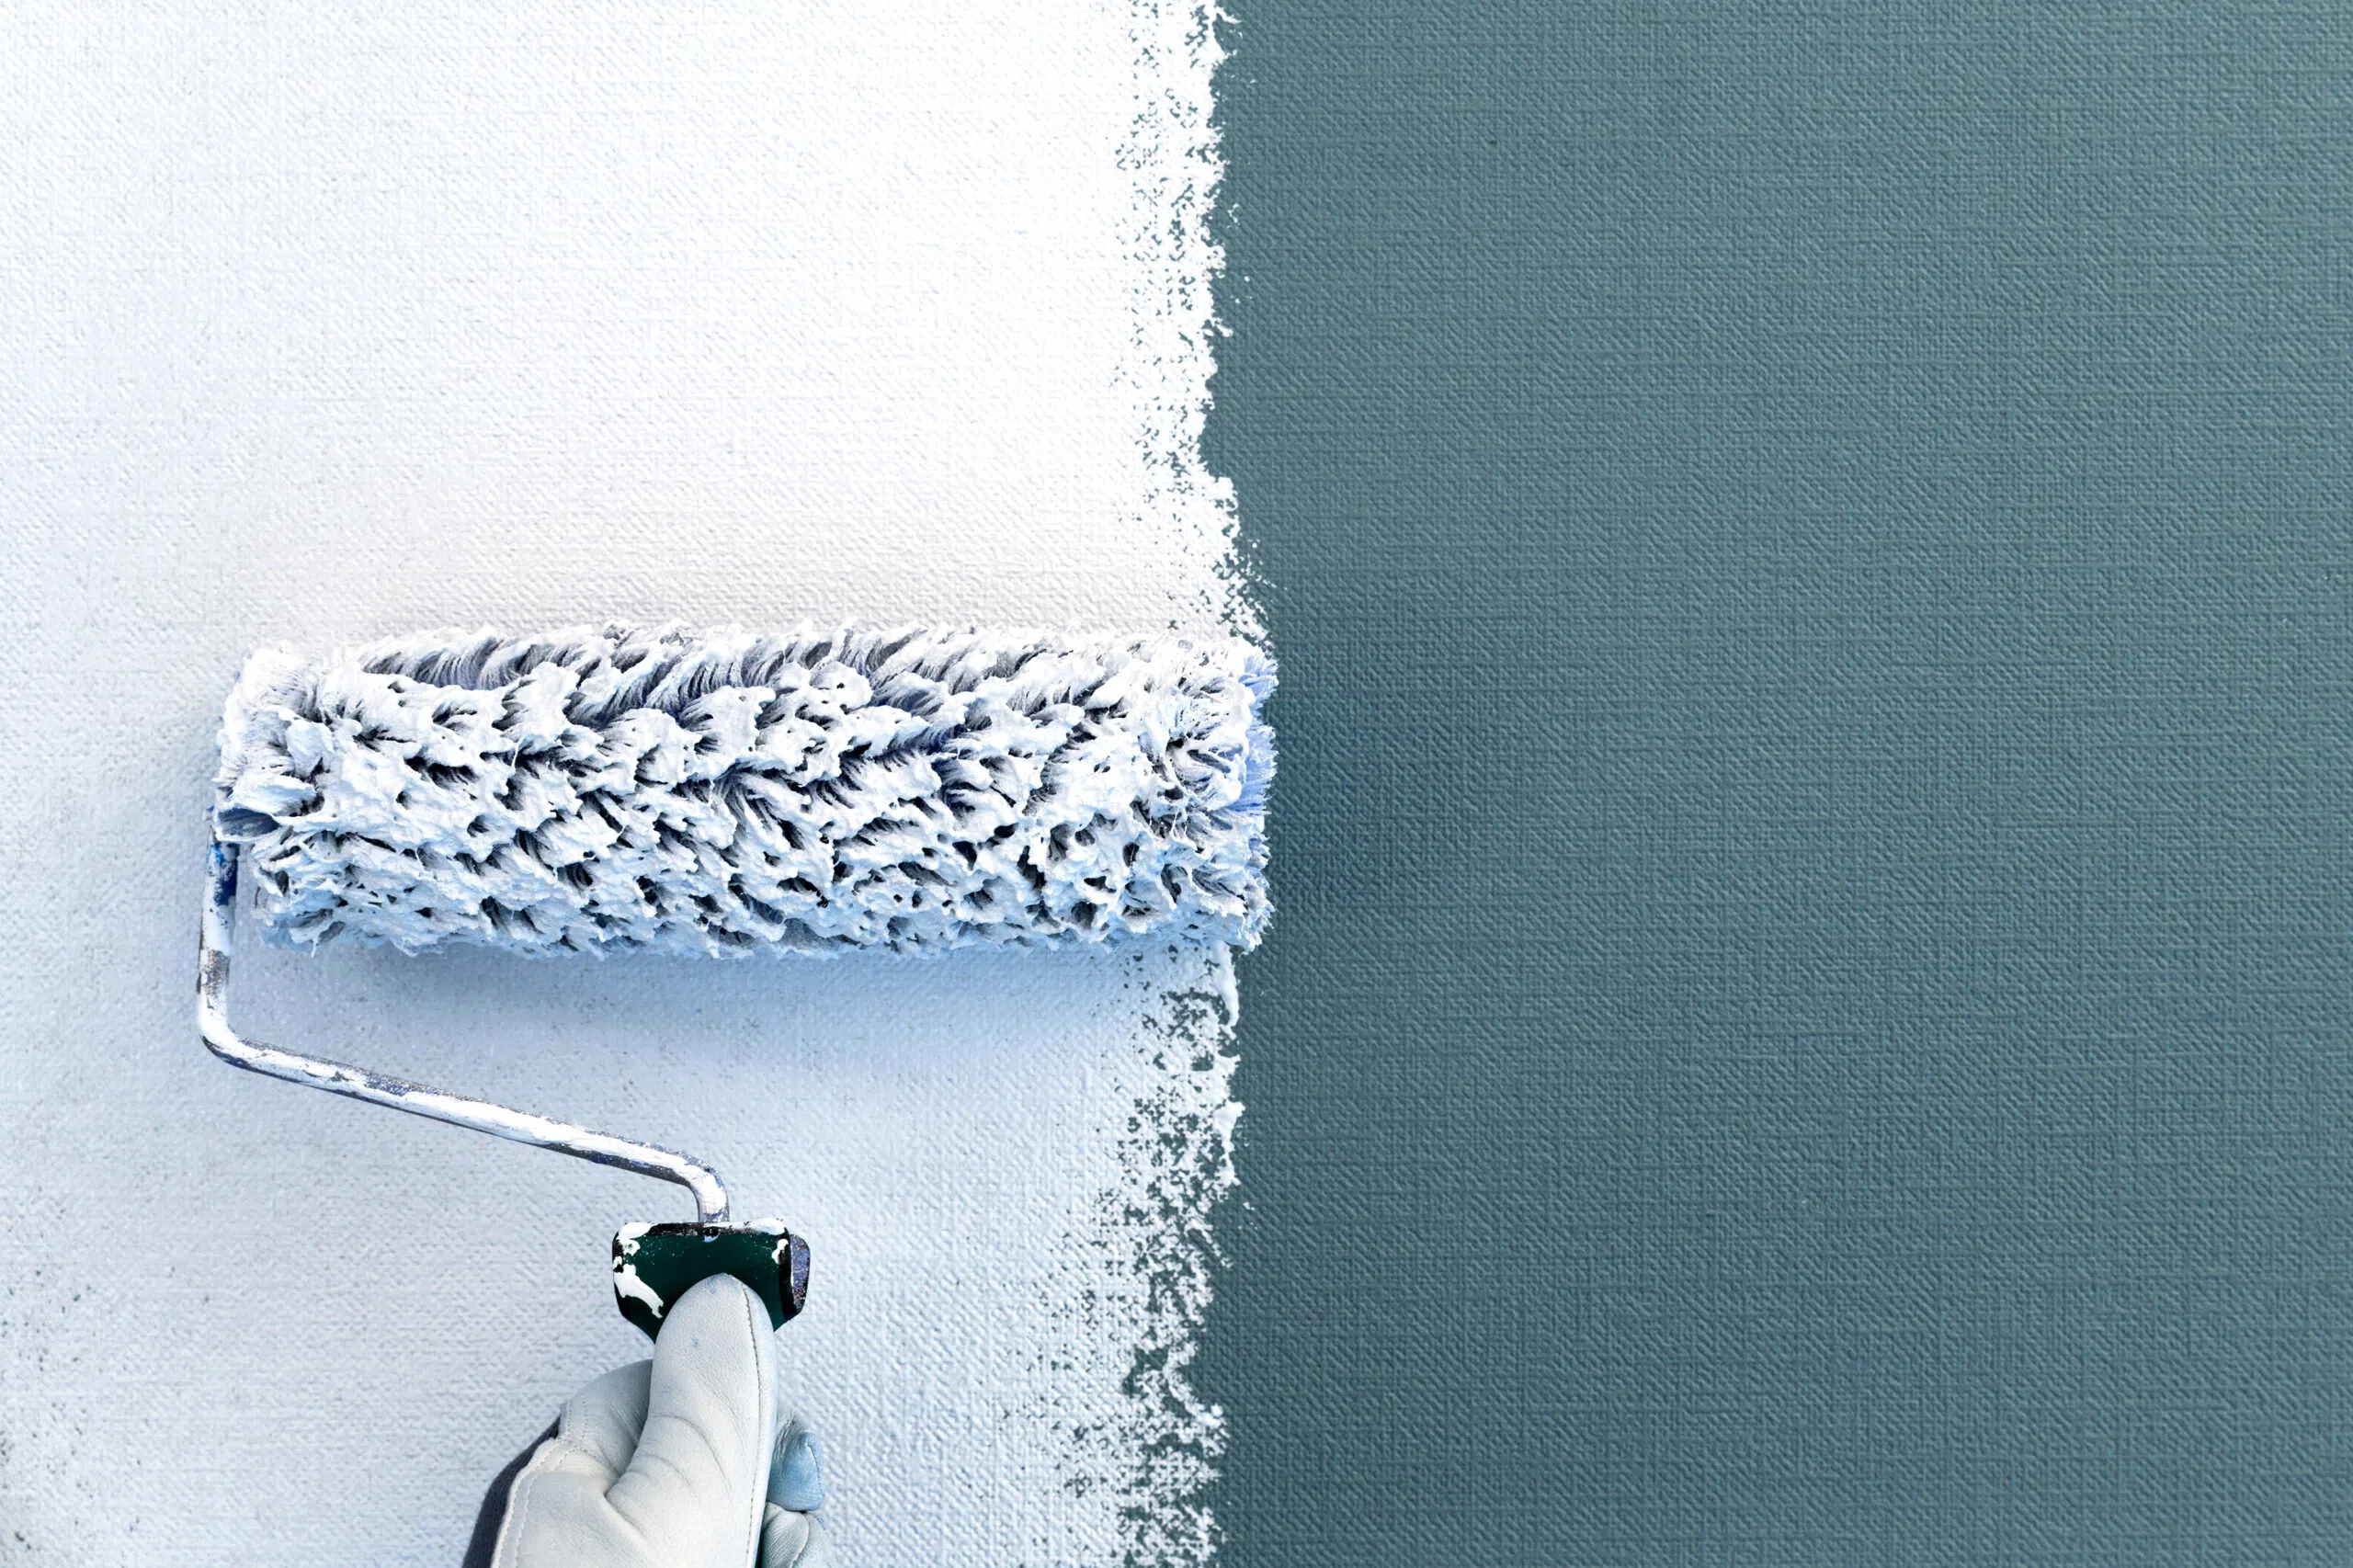
Step 5: Start painting
After the wallpaper has been cleaned, repaired, and primed, you can paint it like any other surface. It is essential if your wallpaper has a large pattern or you’re painting a light color over patterned wallpaper. Two coats are likely to be needed, with ample drying time between.
It is possible to paint over wallpaper, which may be better than removing it.
The quality of the result is dependent on the initial effort. It’s all about the preparation.