Wallpaper borders are a great way to add charm to a space, but tastes and styles change. You’ll need patience and the correct techniques to remove an outdated border. This guide will take you step-by-step, with tips and tricks that make the process easier.
Step 1: Prepare
Get your tools and materials ready
Make sure you have the right tools and materials before you begin. This list will help you get ready:
- Drop cloths or plastic tarps
- Painter’s Tape
- Spray bottle with water or wallpaper remover solution
- The sponge or cloth
- Putty knives or scrapers
- The scoring tool is optional
- Dish soap (optional), or fabric softener
- Step ladder (if required)
- Safety goggles (for protection) and gloves
Protect Your Space
Protect the border of the wallpaper first. Cover the floor to catch debris and water with plastic drop cloths or tarps. Painter’s tape can be used to hold the plastic down and mask any surfaces you do not want to damage.
Step 2: Remove the wallpaper border
Test a Small Section
Test a small section of the border wallpaper to see if it can be removed easily. You can then determine which method is best for removing the wallpaper.
Spray the Border
Fill the spray bottle with warm, lukewarm water and mist lightly on the wallpaper border. Add a few drops to the water if the border is very stubborn. Allow the solution to sit for 10-15 minutes so that it can penetrate the paper to loosen the adhesive.
Use a Scoring Instrument (If Needed)
You may need to use the scoring tool if the border does not absorb the water. Use the scoring tool to make small holes in the border of the wallpaper. The water or removal solution will penetrate better if you create small holes.
Step 3: Remove Wallpaper Border
Start Peeling
Peel the border wallpaper off once it has been sufficiently moistened. Begin at the corner or edge of the wallpaper and pull it gently away from the wall. You can use a putty or scraper as a tool to lift the paper. Be careful not to damage your wall.
Work in Sections
Working in small sections and reapplying the water or removal solution when necessary. Avoid rushing and be patient to avoid damaging the surface of the wall. Continue until you have removed the entire border.
Step 4: Remove any remaining adhesive
Reapplying Solution
You may find adhesive residue on the wall after the border has been removed. Apply your wallpaper or water removal solution again to these areas. Let it sit for several minutes.
Scrape off Residue
Remove the adhesive using a putty or scraper. Keep the tool at an angle of about 15 degrees to prevent gouging. Use a sponge or a cloth to remove any residue.
Clean the Wall
After removing all adhesive, wash the wall using a mixture warm water and mild detergent. This will remove any remaining glue or cleaning solution. Rinse the wall with clean water, and then dry it with a soft cloth.
Step 5: Repair the Wall and Prepare it
Check for Damage
Check the wall for damage. You should repair any small scratches, nicks or holes.
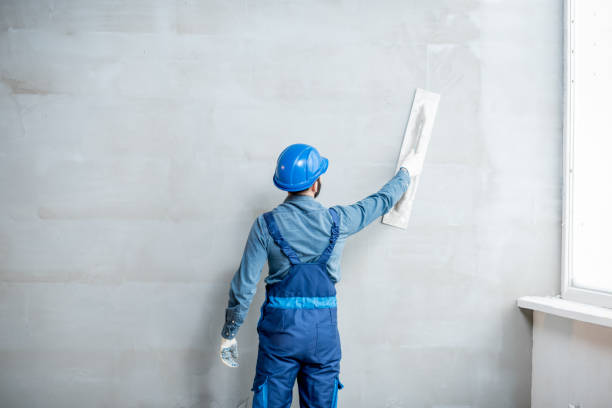
Patch and Sand
Fill in any imperfections or holes with spackling compounds. Let the compound dry, and then smooth it out with a fine-grit sandpaper. Dust can be removed with a wet cloth.
Prime the Wall
Prime the wall before painting or applying wallpaper. This will create a smooth and even surface, which will help the wall covering to adhere. Select a primer that is suitable for the type of wall you have and follow the instructions provided by the manufacturer.
Tip and Tricks
- Use the Hair Dryer: If your wallpaper border is stubborn, you can use a hairdryer set to low. Heat can make the adhesive easier to remove.
- Vinegar solution: A mixture equal parts of vinegar and water is an alternative to commercial wallpaper removers.
- Patience Is Key: Do not rush through each step. Rushing could lead to additional work.
- Get Professional Help: If you have any problems or the border of your wallpaper is difficult to remove, contact a professional.
The conclusion of the article is:
With the right tools and approach, removing a border from wallpaper is a DIY project that can be completed. Following these five easy steps – preparation, loosening wallpaper, removal of the wallpaper, cleaning adhesive and repairing wall – you can get a smooth, clean surface that is ready for a new look. If you plan to paint or install new wallpaper, it’s important to remove the old border. This will help ensure that your project is successful.