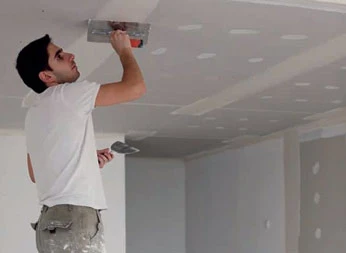
Painting a room with flawless finishes is easy for professional painters. But this process requires more than just spraying paint on walls and perhaps splattering your partner to make it even more fun. The prep work is what makes the perfect finish, not the painting.
These are our top tips and tricks to ensure your home painting projects turn into a masterpiece.
1. Smoothen the surface.
Preparing the surface is key to a great finish. This goes beyond just washing it. Our walls and trim can also become chipped, dented, and scratched over time from pets and furniture.
You should not go for the paint as it will only cover minor imperfections. Fill them out instead. You can cover any cracks, scratches, dents, or holes with high-quality paint and a putty blade. Allow it to dry, and then smoothen the surface. Use a scraper to get rid of any flaking, bumpy, or bubbled paint. Then sand it flat.
2. Make your new paint stick.
If your surface is gloss or satin, the paint will not stick well to it. Sanding over existing surfaces to improve their condition is the best and most efficient way to ensure the best possible coverage.
Do not sand through the wall with abrasive sandpaper. Instead, use light pressure and circular motions using medium-grain sandpaper.
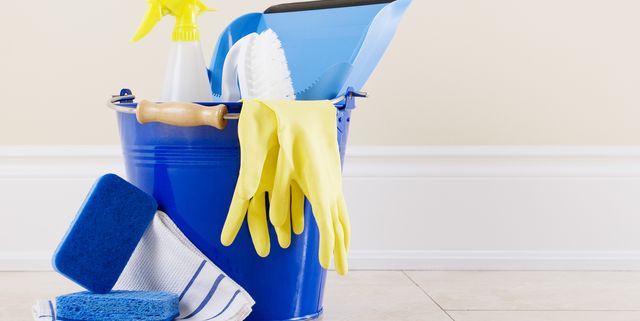
3. Get rid of all traces of dirt and grime from your walls.
Before you start painting the wall with paint, make sure the surface is clean. One interior painting tip is to clean walls before applying paint. TSP is the best product available, but a simple wipe down with an emollient rag can often suffice to prepare the wall for paint. To paint a room professionally, you must first ensure that there is no contamination. While painting a space, one of the most common errors is not cleaning it.
4. Tape off the edges.
Blue painter’s tape is a good choice if you don’t have the skill to cut perfect lines. Apply the tape carefully, then fold the edges. This step is crucial to a smooth, paintable edge. Even the most carefully applied tape can be bled through by paint. Make sure you’re not creating air bubbles, and make sure your lines are straight.
5. Primer can be used to cover dark colors.
A primer is the best way to conceal dark colors if your teen is in their emo phase. It’s smart to use a matte gray primer, which creates a uniform and neutral canvas, which you can then paint over with your chosen paler color.
Make sure to allow the primer to dry completely before you apply the topcoat. To maximize the vibrancy of bright colors, you can also use a neutral primer. It works well when you are trying to apply paint over wallpaper.
6. Get started by cutting in.
It is a common mistake to put off cutting in. Get it done first. This is essential for painting around corners, light switches, and edges using a small, fine-trim brush. These are the areas in which a larger brush or roller is too large, cumbersome, or imprecise.
Paint a 2- to 3-inch border around corners and obstacles to give yourself enough space to avoid mishaps. Don’t forget to paint the top edge of the wall where it meets the ceiling.
7. Use the trim brush correctly.
Most trim brushes are rectangular, and people hold them horizontally. You’ll achieve a cleaner, more precise line and less paint splatter if the narrow sides are in the horizontal position.
8. Replace masking tape between coats.
Most people know that painter’s tape is a good idea around light switches and the edges where trim, baseboards, and ceilings meet with the wall. They don’t realize that the tape should be changed between coats. After you have completed one coat, take off the painter’s adhesive tape as you wait for the paint to dry.
It is best to remove the tape when the paint is still wet. This will prevent paint from bridging the tape as it dries and then tearing off when you remove the tape. When you are ready to apply a new coat of paint, you can reapply the painter’s tap, and you’re good to go.
9. Mix paint early and often.
Mix it often, regardless of whether you have oil-based paint or latex. All types of residential paint settle quickly and can separate. Even if the paint looks fine, it can cause separation in as little as 30 seconds. Any amount of separation can be noticeable and could cause unwanted and unattractive color changes once it is dry.
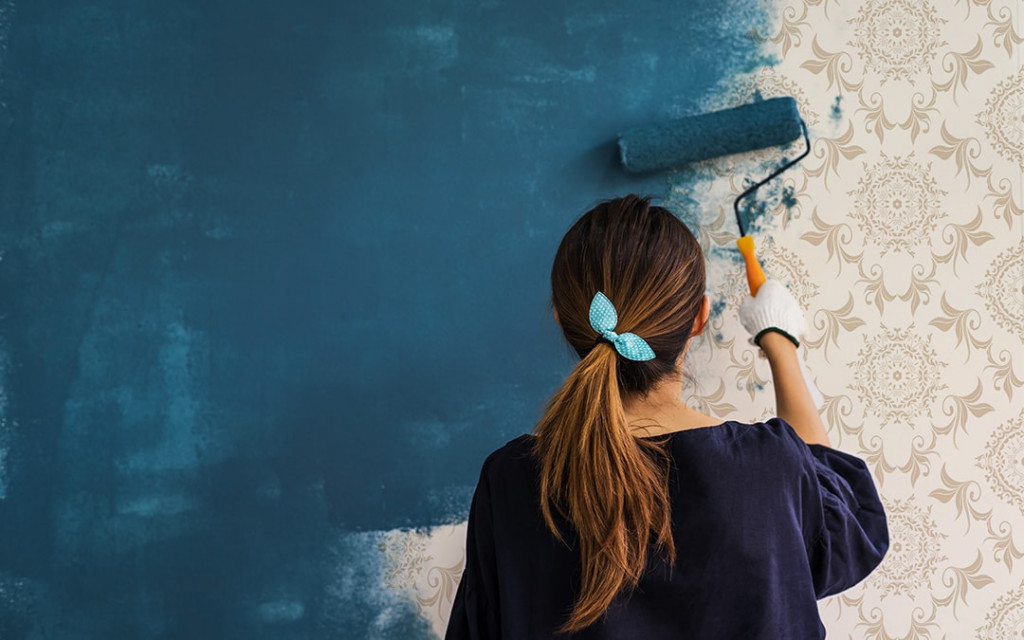
10. Always paint from top to bottom, big to small.
Always begin at the top and work your way to the bottom. You’ll most likely get drips and splatters on the bottom of the surface you’ve finished.
Paint larger areas first than smaller ones. For example, if you are painting a whole room, first cut in the ceiling and then paint it. For an added touch of style, you can texturize your ceiling. Next, you can move on to the walls. Only after that should you begin painting doors and trimming.
When you are painting large areas, think about how you move. Paint tends to spray all over the place more quickly than you think, especially onto the trim. Save yourself the hassle and paint in the correct order: From top to bottom, large to small.
11. Just load your roller right.
Overloading your roller can cause thick drips and sloughing when the paint dries. This is not only annoying, but it can also be very difficult to fix.
This can be avoided by not submerging the entire roller head in paint while you load it up. To remove any paint left over, roll the roller onto the textured portion of the paint tray before you attach it to the wall.
Spreading the paint too thin can cause it to become sloppy and uneven. This will result in a patchy, blotchy finish that will require additional coats. The roller should not drip, but it shouldn’t be too dry.
12. Take a break and keep your supplies fresh.
You’ve worked hard, and you deserve a break. Be sure to take some precautions. You can cover your roller head, paintbrushes, and paint tray with saran wrap or a tight-fitting plastic bag.
If they are hot, or you have to keep them for longer than an hour or so, you can store them in the fridge and take them out for about 30 minutes before you use them again.